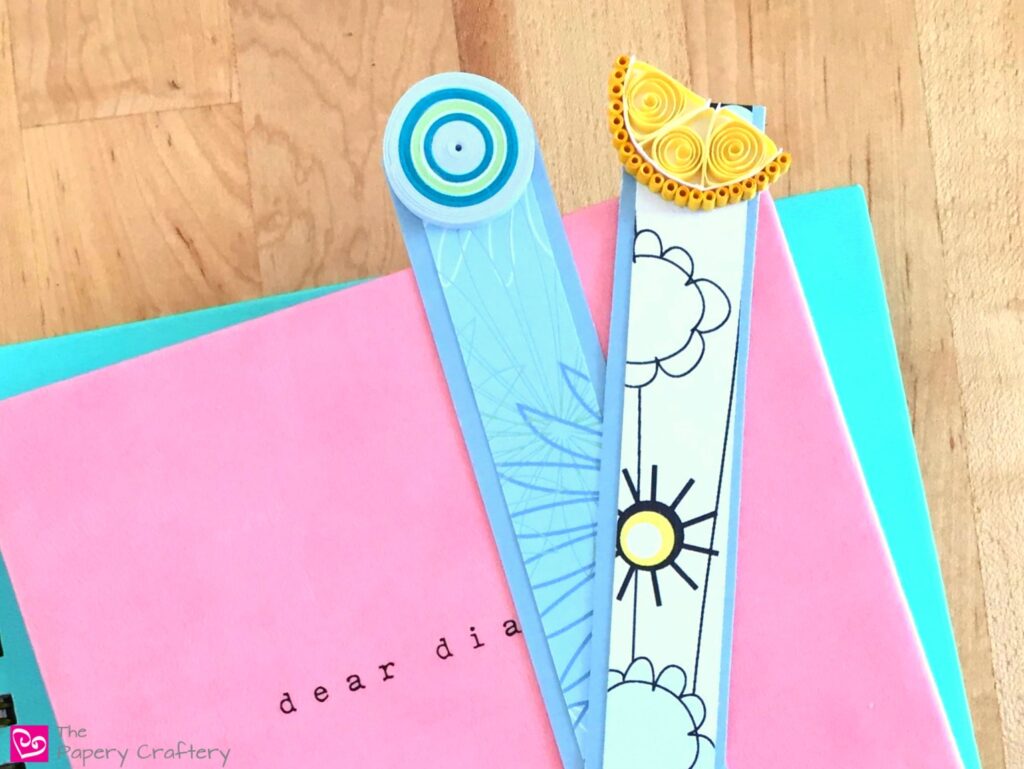
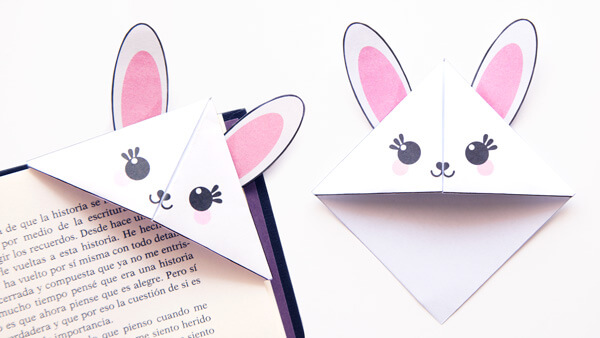
Bookmarks are not just practical tools for readers to mark their place in a book; they can also be a creative and personalized expression of your love for literature. Making paper bookmarks is a simple yet enjoyable craft that allows you to explore your artistic side while enhancing your reading experience. In this guide, we will walk you through the steps to create your very own paper bookmarks.
Materials You’ll Need
Before you start crafting your paper bookmarks, gather the following materials:
- Paper: You can use various types of paper for this project, including colored paper, cardstock, old book pages, or even recycled materials like cereal boxes.
- Scissors: A pair of sharp scissors will be essential for cutting your paper into the desired shapes and sizes.
- Markers, Pens, or Pencils: These are for adding designs, quotes, or any other decorations to your bookmarks.
- Stamps and Ink Pads (Optional): If you want to create intricate designs, stamps and ink pads can be a great addition to your toolkit.
- Stickers, Washi Tape, or Decorative Paper (Optional): These can be used to add extra flair and personality to your bookmarks.
- Ruler: A ruler will help you create straight lines and measure the dimensions of your bookmarks accurately.
- Glue or Double-Sided Tape: If you’re layering different papers or adding embellishments, you’ll need adhesive to keep everything in place.
Step 1: Choose Your Paper
Start by selecting the paper you want to use for your bookmarks. You can go with a single color, or patterned paper, or even mix and match different types for a unique look. Old book pages can add a vintage touch to your bookmarks, while colorful cardstock can make them pop.
Step 2: Measure and Cut
Using your ruler, measure and mark the dimensions of your bookmarks. A standard bookmark is usually about 2 inches wide and 6 inches long, but you can adjust the size to your liking. Once you’ve marked the dimensions, carefully cut out your bookmarks using the scissors.
Step 3: Decorate Your Bookmarks
This is where your creativity shines. Use markers, pens, or pencils to add designs, illustrations, or your favorite quotes to the bookmarks. If you have stamps and ink pads, experiment with different patterns and colors. Personalize each bookmark according to your taste or create a themed set.
Step 4: Add Extra Flair (Optional)
For an extra touch of style, consider using stickers, washi tape, or decorative paper to enhance your bookmarks. You can layer these elements or simply apply them as borders. This step allows you to make your bookmarks even more unique and visually appealing.

Step 5: Laminate (Optional)
To increase the durability and longevity of your bookmarks, consider laminating them. Laminating pouches and a laminator machine can be purchased at most craft stores. Laminating not only protects your bookmarks from wear and tear but also gives them a glossy finish.
Step 6: Let Them Dry
If you’ve used markers or wet adhesive, make sure your bookmarks are completely dry before using or laminating them. This prevents smudging and ensures your creations look their best.
Step 7: Enjoy Your Bookmarks
Your paper bookmarks are now ready to accompany you on your reading adventures. Use them to mark your progress in your current book, share them with friends and fellow book lovers, or even give them as thoughtful gifts.
Making paper bookmarks is a delightful and satisfying craft that combines creativity with functionality. Whether you’re a seasoned DIY enthusiast or a beginner looking for a fun project, crafting your own bookmarks is a fantastic way to personalize your reading experience and share your love for books with others. So, gather your materials, get creative, and start making your own beautiful paper bookmarks today!

